
Lectora® and Lectora® Online make it easy to synchronize events—add actions—to audio and video playback. For example, you can show bullet points timed to a page narration, or illustrate a process flow by moving images.
This blog will show you step-by-step how to synchronize events to audio and video files within Lectora and Lectora Online titles. For more information, view the Information Center (aka Help) topics on “Synchronizing events of an audio/video object.”
Step 1: Gather Your Assets
Before you begin to synchronize events to an audio or video file, the first thing you should do is create and/or collect any items that you want to appear, disappear, move, play... whatever… when timed to your audio or video. Any available action in Lectora and Lectora Online may be synchronized. The actions available to you will depend on what other objects are on the page. So, if you will want to display text blocks, create them first. If you will want to hide or show images, make sure you have the images on the page. And of course you will want to have the audio or video file recorded.
Step 2: Insert Audio or Video File
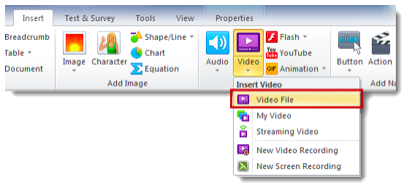
Open your title in Lectora/Lectora Online. Locate and drag the desired audio or video file into your title, or alternatively, from the Insert ribbon, select Insert Audio or Video File. Browse for and select the desired file.
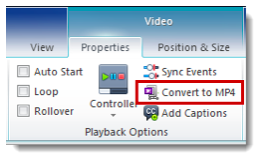
Lectora and Lectora Online allow you to synchronize event actions to MP3 audio, MP4 video and FLV file formats. If your file is not in this format (for example, WAV or AVI) you will need to convert it to MP3/MP4. You can convert it as you import it with Lectora Online. In Lectora desktop, double-click on the audio/video on the page (or in the Title Explorer) to switch to its Properties ribbon. Click Convert to MP3/MP4.
Step 3: Add Event Markers
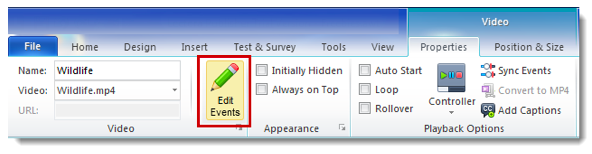
Once the desired file has been added to your page, you’ll need to add event markers to the file to indicate the specific points where you will want actions to occur. To do this, double-click on the object or select the Properties ribbon. On the Properties ribbon, click the Edit button.
3.1 Adding Event Markers in Lectora Desktop
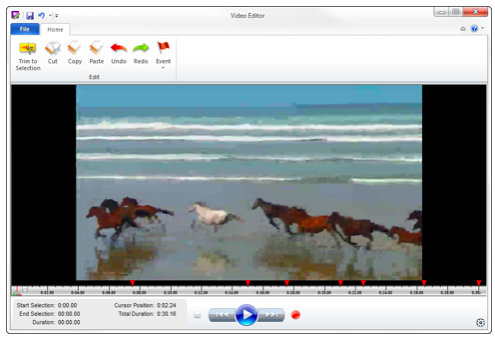
When you select Edit, the audio or video file is opened in Lectora’s media editor. To add event markers, do the following:
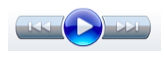

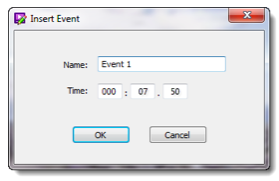
A dialog will display showing the Name of the event and the Time within the audio/video where this marker is being added. It is a good idea to give each event marker a meaningful name to help you remember which action should occur at each point.
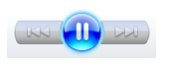
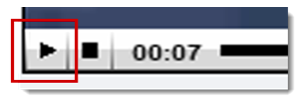
Click OK and then continue to play the file. Repeat this cycle of clicking Play, Pause and Event for each point within the file where you want an action to occur. When you are finished, you will notice red triangle event markers along the timeline of the file. This shows you where you have indicated actions will be synchronized.
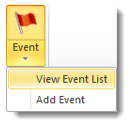
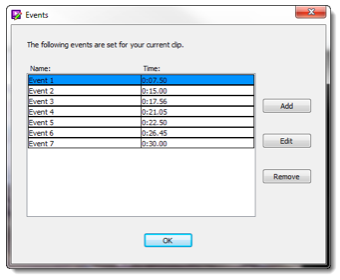
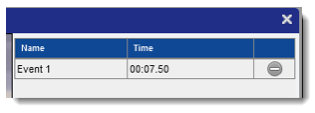
You can also select View Event List to see all of the event points.
Here you can rename the events and adjust the timings as needed. You can also add and remove events.
When you have added and named all of the locations within your file where you will synchronize actions, be sure to Save the file before you Close the dialog.
3.2 Adding Event Markers in Lectora Online
When you select Edit, Lectora Online’s Event Editor is opened. To add event markers, do the following:
This will pause the file and allow you to enter a Name for the event and see the Time within the audio/video where this marker is being added. It is a good idea to give each event marker a meaningful name to help you remember which action should occur at each point.
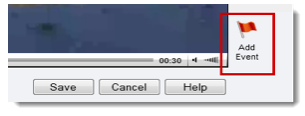
Click Play to continue to play the file. Repeat this cycle of clicking Play and Add Event for each point within the file where you want an action to occur. As you proceed, the table will populate to show you where you have indicated actions will be synchronized.
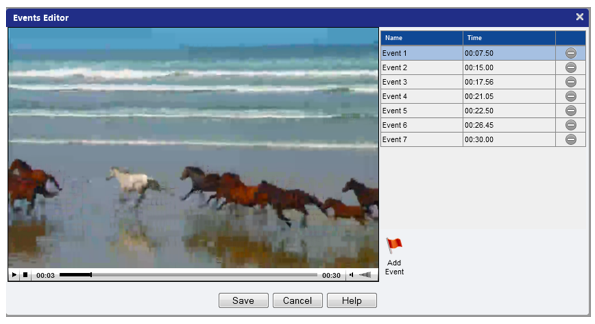
You can rename the events and adjust the timings as needed. You can also remove events. When you have added and named all of the locations within your file where you will synchronize actions, be sure to Save the file.
Step 4: Synchronize Actions
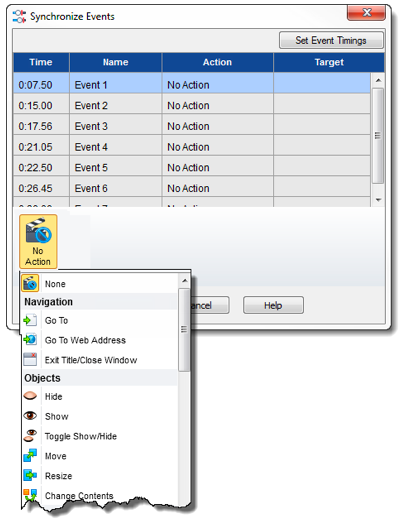
Now that markers have been added to the audio or video file, all that’s left is to indicate what actions you want to occur at each point. To do this, select Sync Events on the object’s Properties ribbon.

On the Synchronize Events dialog, select each line in the table and choose the action to occur at that point. Remember, any available action can be synchronized to your audio or video file.
To try adding event actions to an audio or video file in Lectora or Lectora Online, sign up for a free 30-day trial. Subscribe to the Lectora e-Learning Blog for more how-to tutorials and helpful tips.
.svg)
